The Main Principles Of Window Replacement Services In Jackson Sc
Table of ContentsFascination About Window Replacement Services In Jackson ScNot known Facts About Window Replacement Services In Jackson Sc
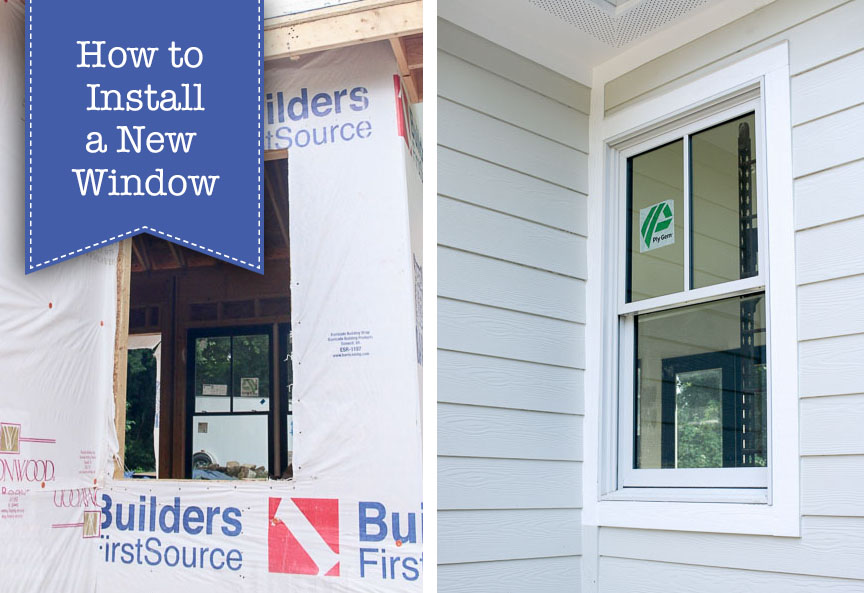
Removing old home windows as well as setting up new ones as a do it yourself project will just work when the new one coincides dimension and also form as the old one as well as the existing one is square (Window Replacement Services in Jackson SC). To determine if your home window opening is square, measure diagonally one way (from the top left edge to the lower appropriate edge) and after that the other (from the upper right corner to the reduced left corner).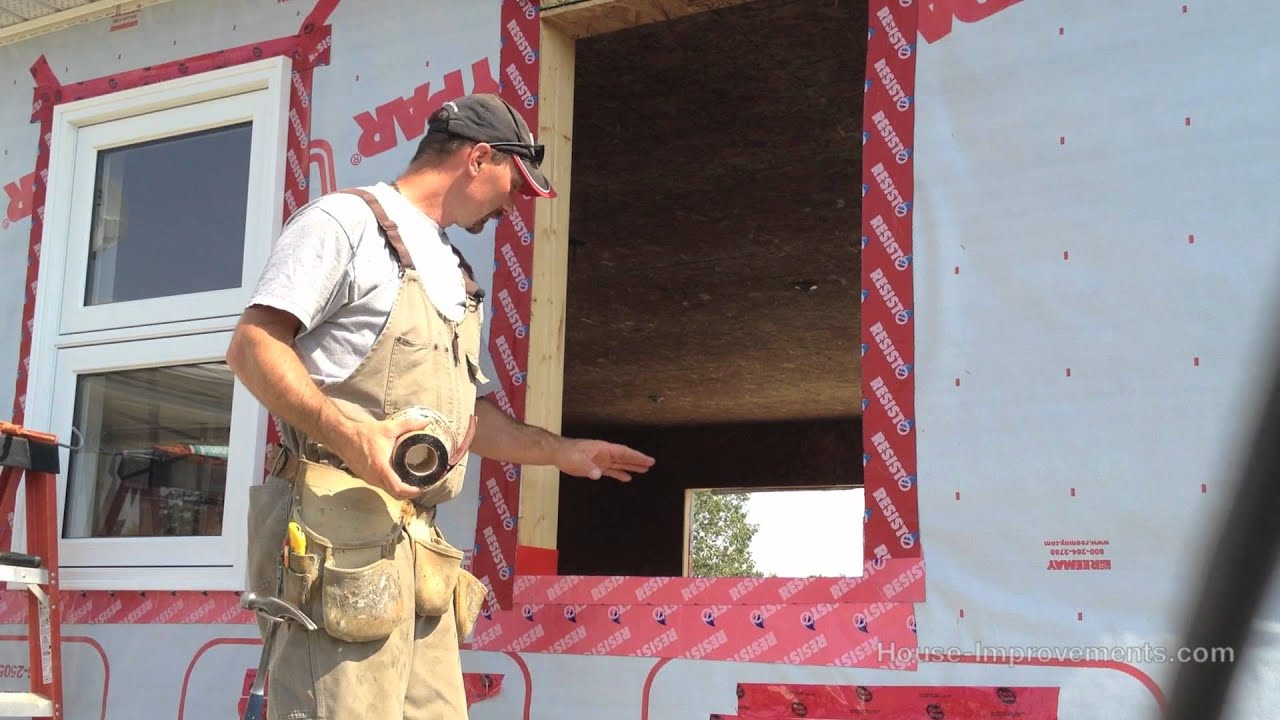
After that, measure the distance in between the head jamb as well as sill at the far left, center, and also far ideal side; the quickest of these three dimensions is the home window elevation. Score the paint where each item of trim satisfies the existing home window housing. Scoring the seams prevents the timber from splitting when you remove the trim items.

9 Simple Techniques For Window Replacement Services In Jackson Sc
Repeat with the top sash, folding the jamb liner throughout the top of the sash. Eliminate the old sashes and also jamb liner as a single device. You might require an assistant for help with bigger look at this web-site home windows. With an assistant standing outside to catch the home window, start prying external. You may need to touch the jambs with a hammer.
Set the nails below the wood surface. Fill the holes with wood putty and also touch up with paint. Set the nails as well as fill up the holes with timber putty.